
Shipping Flat $7.50 Free Over $75
Brother Luminaire Settings & Sewing Class - GLENDALE LOCATION

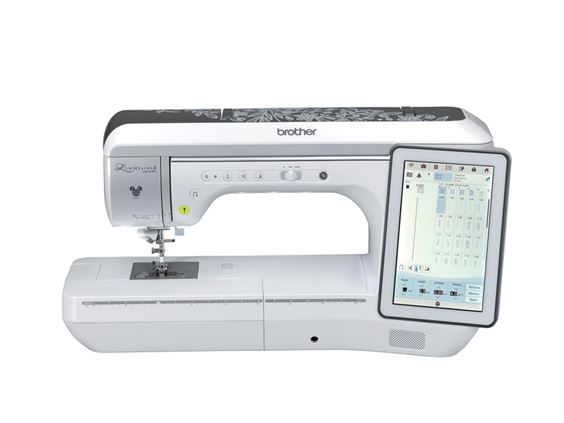
Brother Luminaire Settings and Sewing Class
In this class we will look at the Settings icon and set the machine for your preferences.
The “End point setting” function will be explained and used. The new buttonhole will be used.
Explain the multi-function foot controller
We will explain the sewing icon functions Memory, Reverse and Locking.
In sewing we will learn some of the different feet functions. Use the Built-in camera and Projector. We will use decorative stitches and learn the capabilities; using the grid to line up designs or use for quilting, and to sew perfect angles.
How to resize decorative stitches even if there are multiple designs in the sequence.
We will balance the decorative stitches.
Operations Class for Brother Luminaire I & II
Part 1 – Sewing
Supply List
Sewing Machine and Power Cord
End sewing stickers (small round stickers)
Foot Controller
Sensor Pen & Holder
Stylus
Embroidery needle plate cover
Brother Accessory Case & Tray with feet
Even feed foot (MuVit) foot
Needles
Bobbins
Bobbin cases (Green dot on side & Purple dot in the center)
Thread trimmer
Thread
Notepad/Pen or Pencil
Supply list
Fabric
6”X 6” quilt sandwich (fabric batting and fabric all 6 “) solid color
Fabric strip 6” X 12” fabric solid color
Fabric strip 6” by 36” (folded in half to be 6” x 18” or strip 6” X 18”) solid color.
Piece of denim approx. 6” X 12”
Ribbon ½” wide X 10”
Button with 2 holes (½” or 1”)
Bright color spool of thread (to view easily on fabric)
Bobbin ¼ filled with matching thread.
Bobbin with white thread
Instructor: Kathie Brown Email: dkcanyon@aol.com
Please note in email Subject: Brother Student
| {{model.event.first_date}} - {{model.event.last_date}} | {{model.event.sections.length}} Sessions | {{model.event.sections[0].time}} |
| {{s.date}} | {{s.time}} |
{{errorMessage}}
{{waitlist_contact_errorMessage}}
{{c.items[0].title}}